


Travel Light with EOS RP
Capturing picturesque views of the enchanting Sydney city with the EOS RP.
EOS RP | EF16-35mm f/4L IS USM | f/8 | 5s | ISO 100 | 35mm
1. Tell us about your trip to Sydney. This trip was a little different for me as I incorporated quite a bit of trekking. This included hiking along the famous Blue Mountain and walking along the coast from Clovelly to Bondi Beach. The EOS RP was my reliable little companion - its form factor and weight was an amazing advantage I enjoyed, since it did not burden my shoulder or neck at all.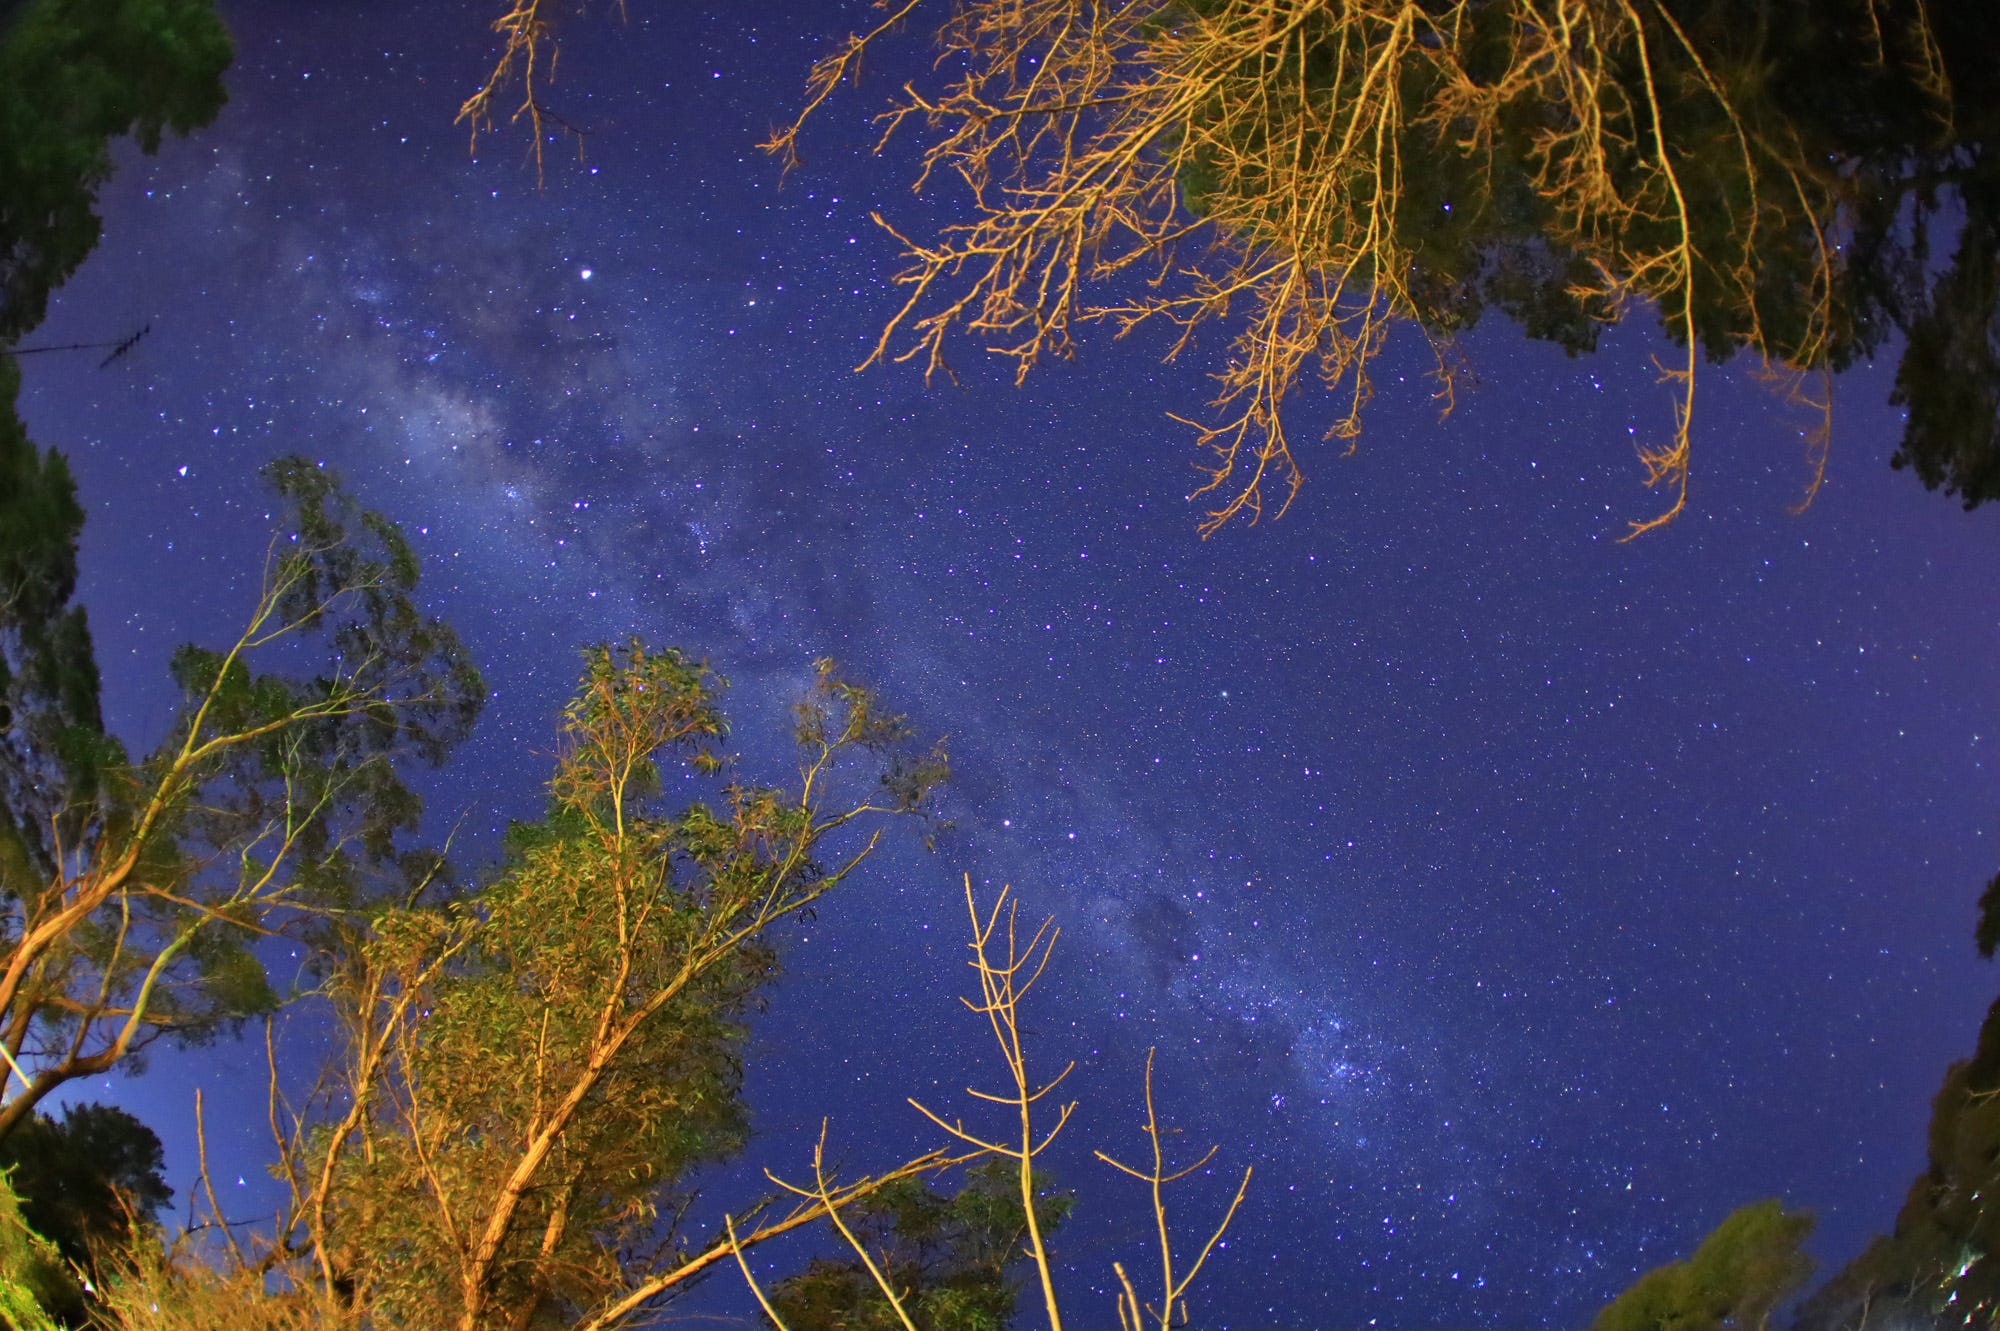
An astounding view of the sky full of stars on Blue Mountain.
EOS RP | EF 15mm f/2.8 Fisheye | f/2.8 | 30s | ISO 3200 | 15mm
2. What was the most memorable moment you captured on your EOS RP? Definitely the Milky Way shot. On one of the nights at Blue Mountain, the temperature fell between 0 and 5 degrees and the deep blue sky was clear with stars. I went to the backyard of the cottage that we stayed in, retrieved my EF 15mm f/2.8 Fisheye lens and took quite a few images. It was a pleasant surprise that the 30 year old fisheye lens still worked wonderfully well with the EOS RP. Even in freezing weather, the EOS RP delivered stunning shots.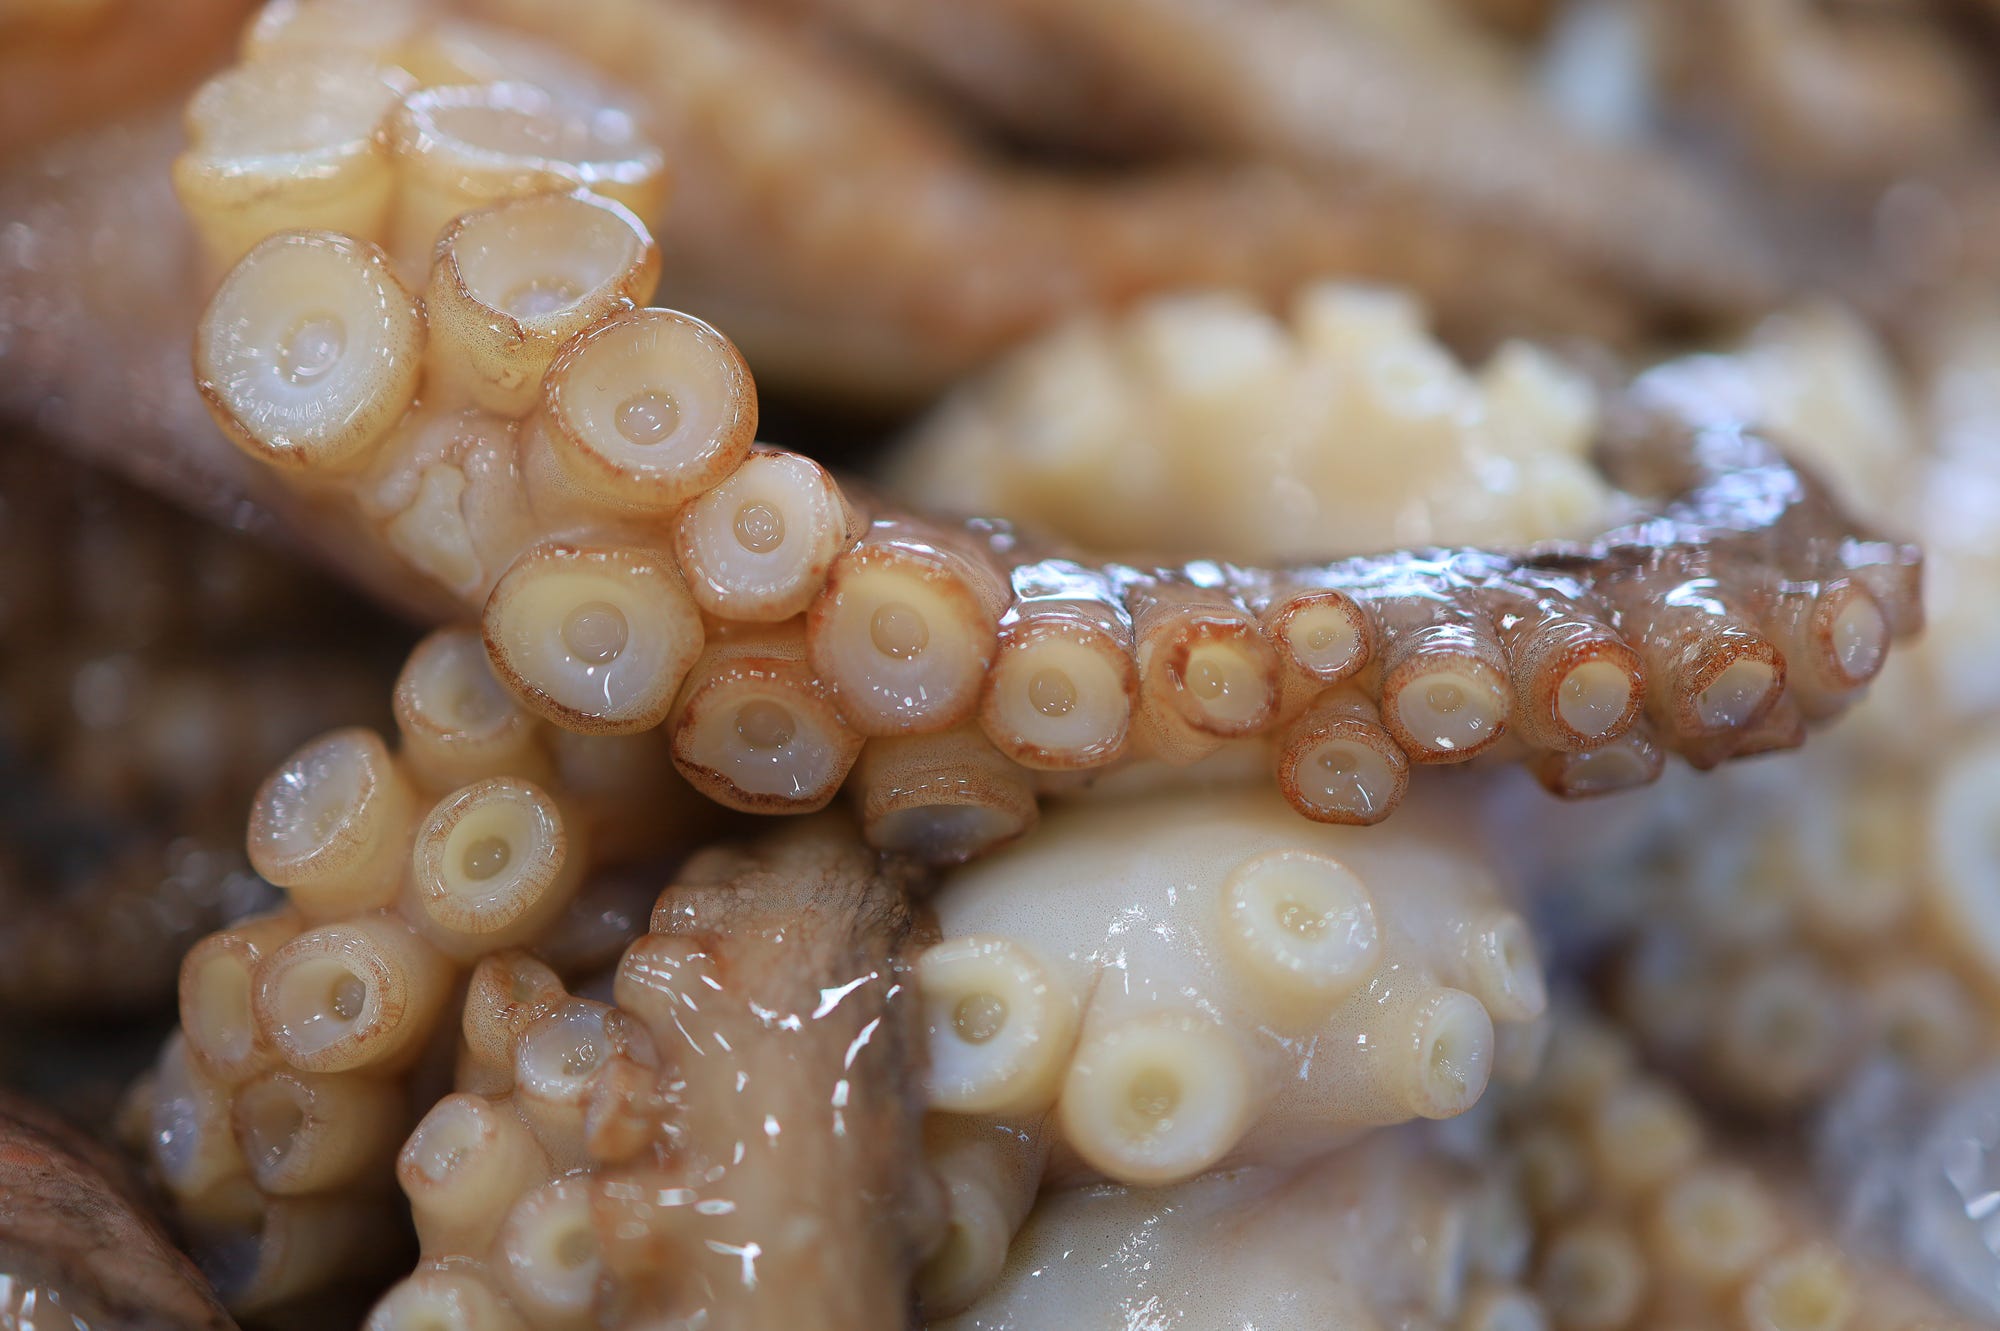
Getting up close and personal with the fresh catch at Sydney Fish Market.
EOS RP | RF 35mm f/1.8 Macro IS STM | f/1.8 | 1/160s | ISO 100 | 35mm
3. How would you describe your experience shooting on the streets of Sydney with the EOS RP? Helpful. I remember shooting inside Sydney Fish Market with the EOS RP and although the lens was only a few centimetres away from the seafood, the stall owners did not chase me away. Being lightweight and compact, I guess the camera looked much less intimidating, which was advantageous for close-ups and candids. 4. Which features of the EOS RP were most useful in capturing your shots? The vari-angle LCD and the touchscreen function. Being able to select focus points simply by tapping on the LCD was so convenient. The top-notch sensitivity of the touchscreen was honestly as good as the high-end mobile phones we often use.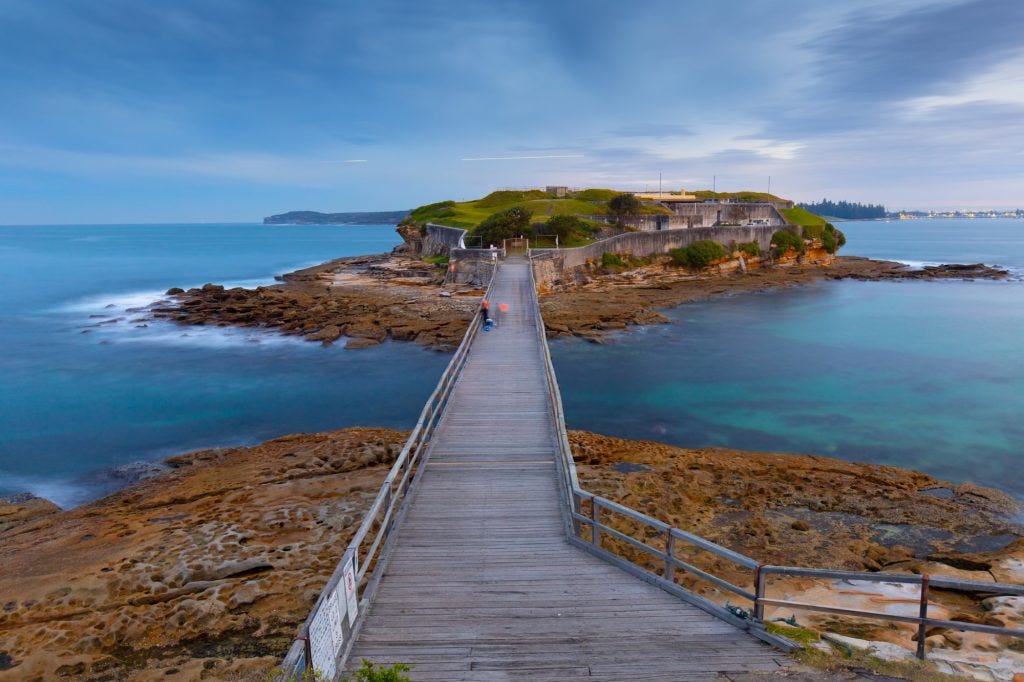
The beauty of blue hour at Bare Fort Island, shot from a vantage point.
EOS RP | f/5 | 30s | ISO 100 | 28mm
Another favourite feature of mine was the EOS RP’s low-light AF capability. One evening, I travelled to Bare Island Fort in hopes of catching the sunset. By the time I set up my tripod and camera, however, the sun had already set and it was so dark that I could barely make out the details. To my surprise, the EOS RP could still focus perfectly and I managed to take some long exposures! The image above may look well-exposed, but the actual scene was very dark.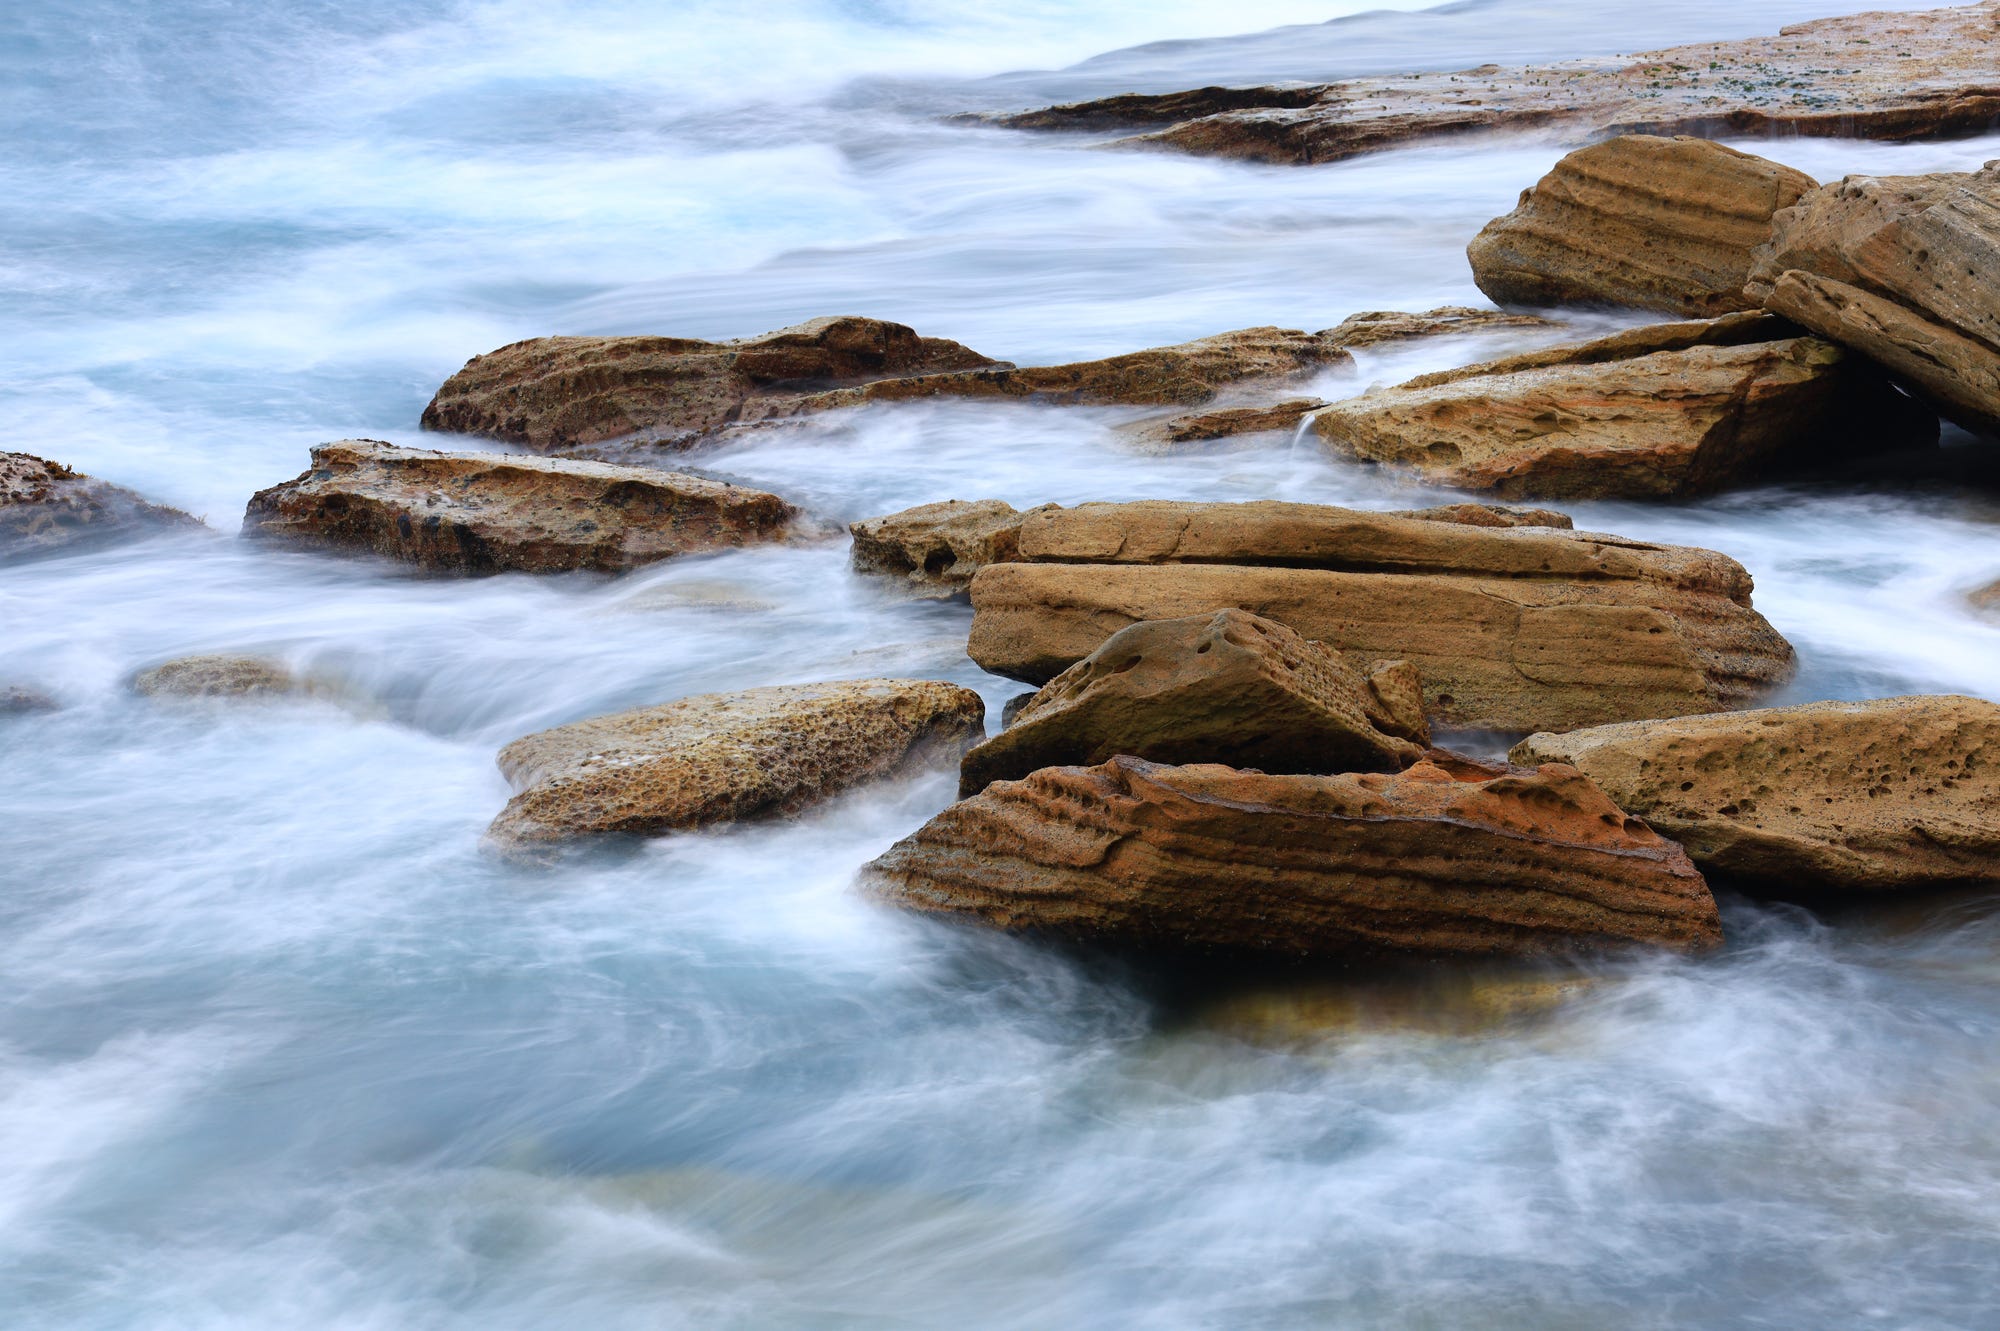
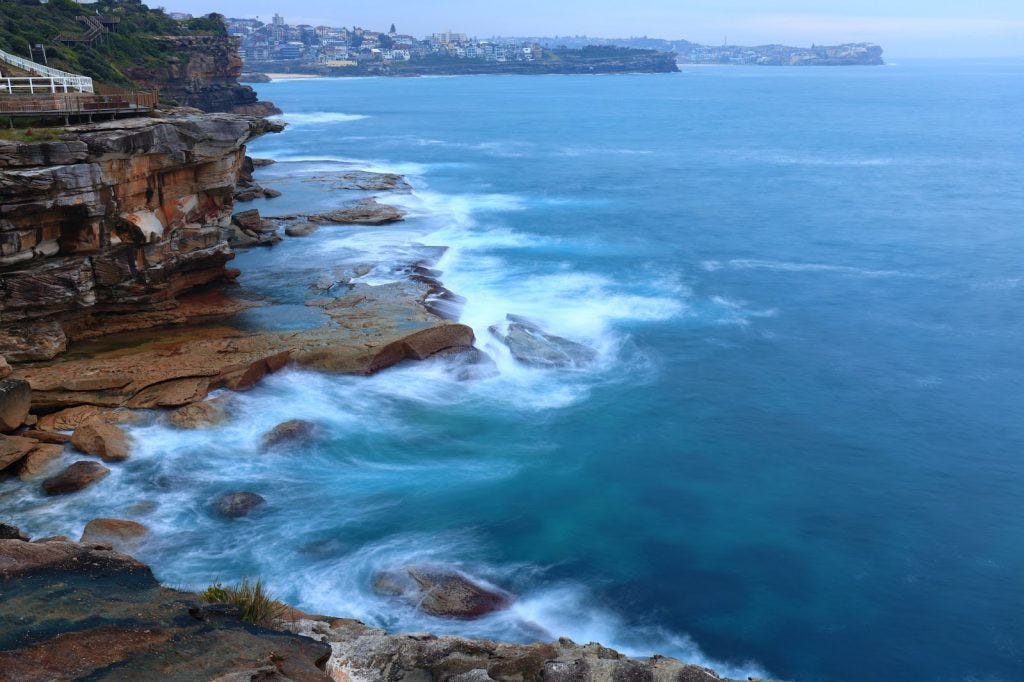
A tranquil scene of the waves moving gently against the rocks.
EOS RP | EF 70-300mm f/4-5.6L IS USM | f/10 | 2.5s | ISO 100 | 128mm
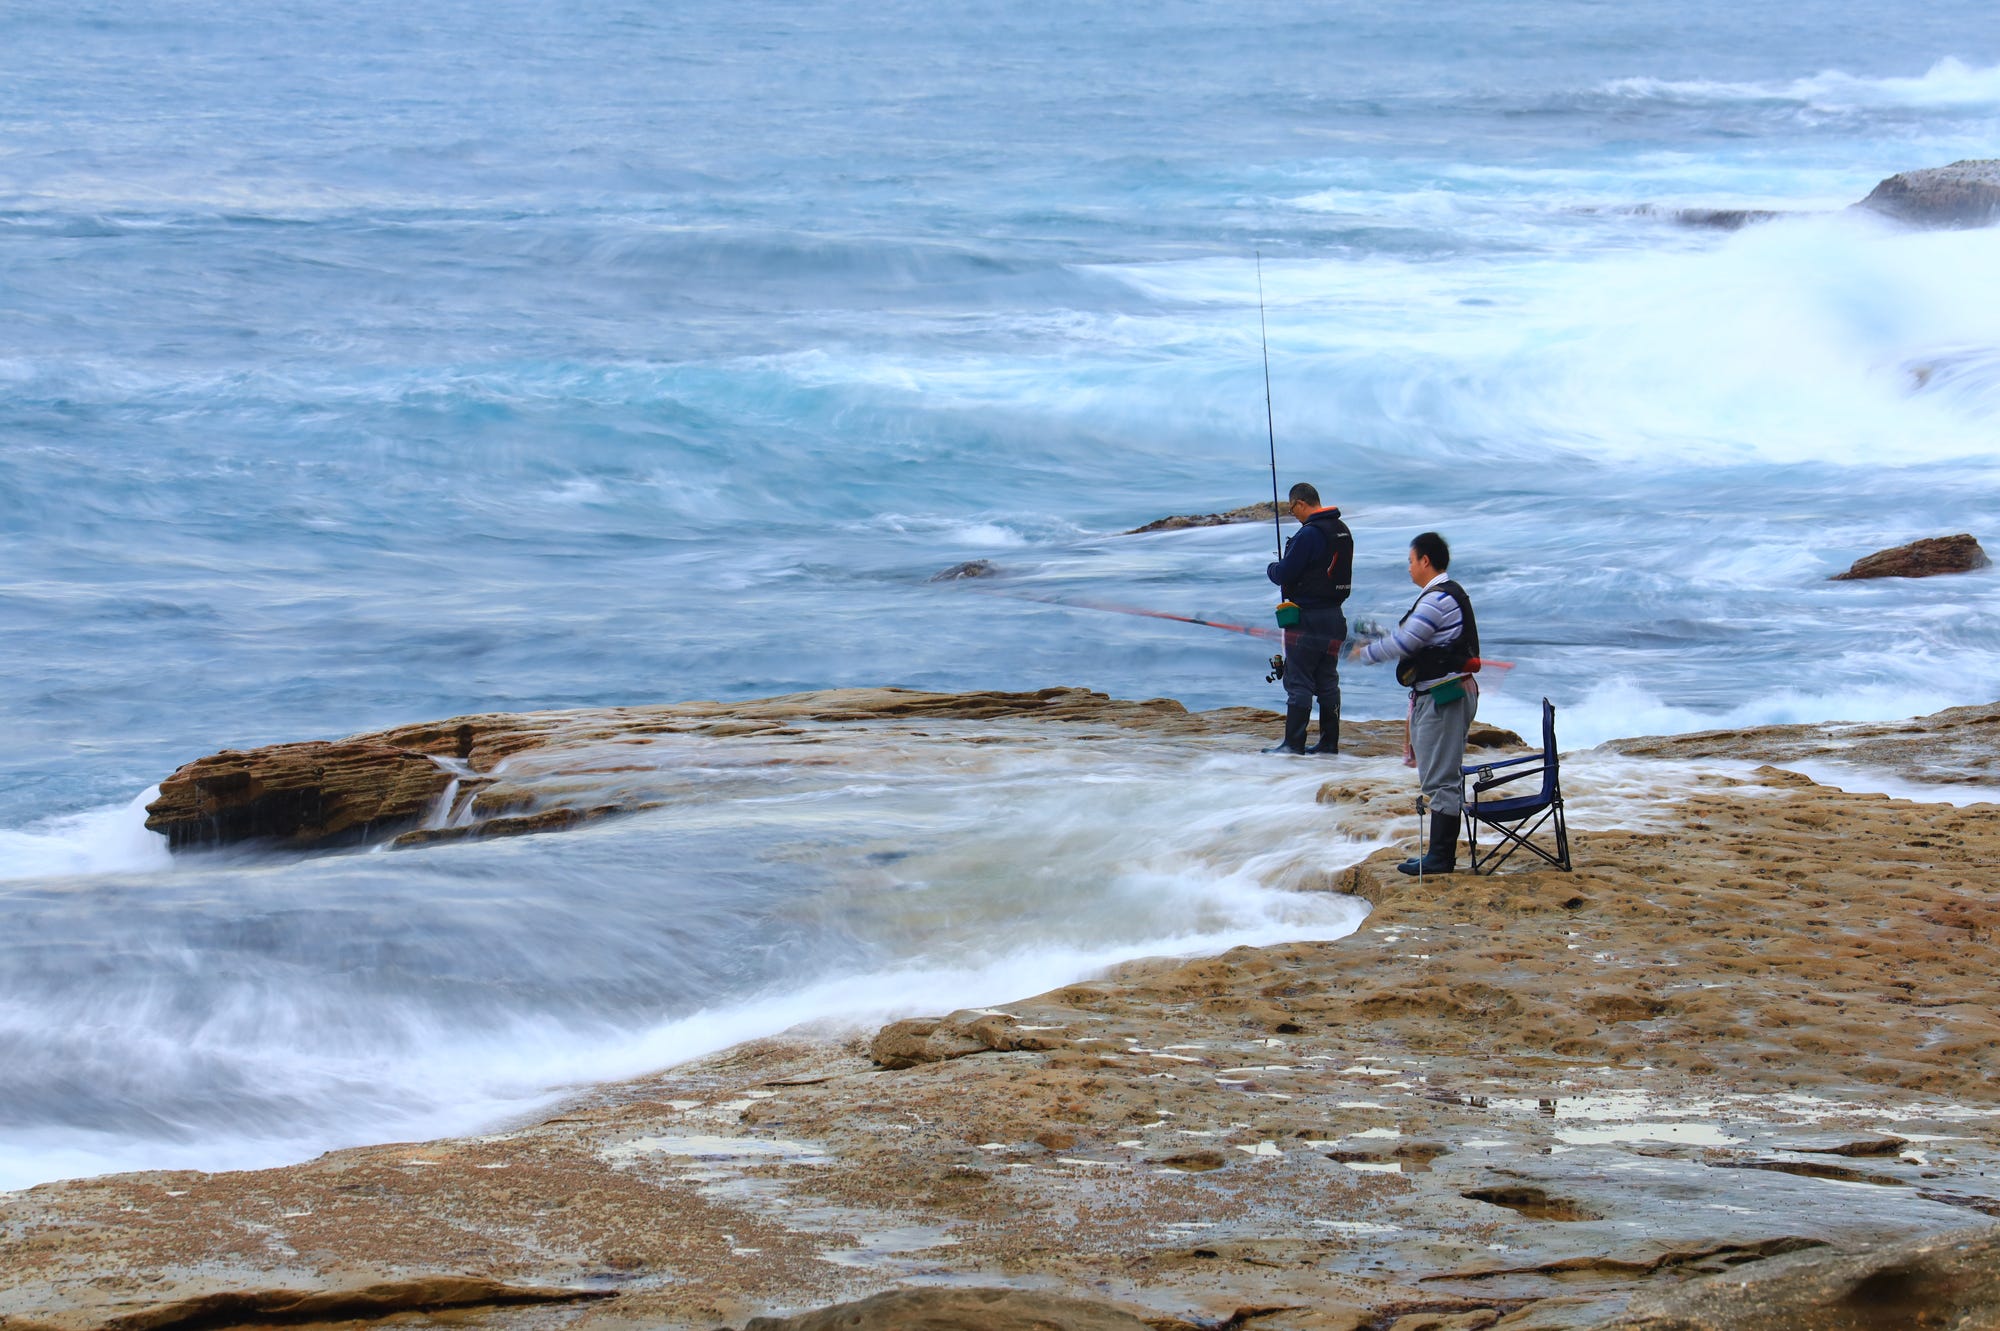
Men fishing for leisure along the rocky shores of Clovelly and Bondi Beach.
EOS RP | EF 70-300mm f/4-5.6L IS USM | f/11 | 0.5s | ISO 500 | 229mm
5. What effects did you achieve with the VND and CPL drop-in filters? The Circular Polarizer/Linear (CPL) filter brought out the vivid blue of the sky and reduced glaring reflections from the water surface. I also took many long exposure shots under bright sunlight, which would have been impossible without the Variable Neutral Density (VND) filter. During the 4-hour trail from Clovelly to Bondi Beach and back, I used the VND to capture many different motions of the beautiful waves.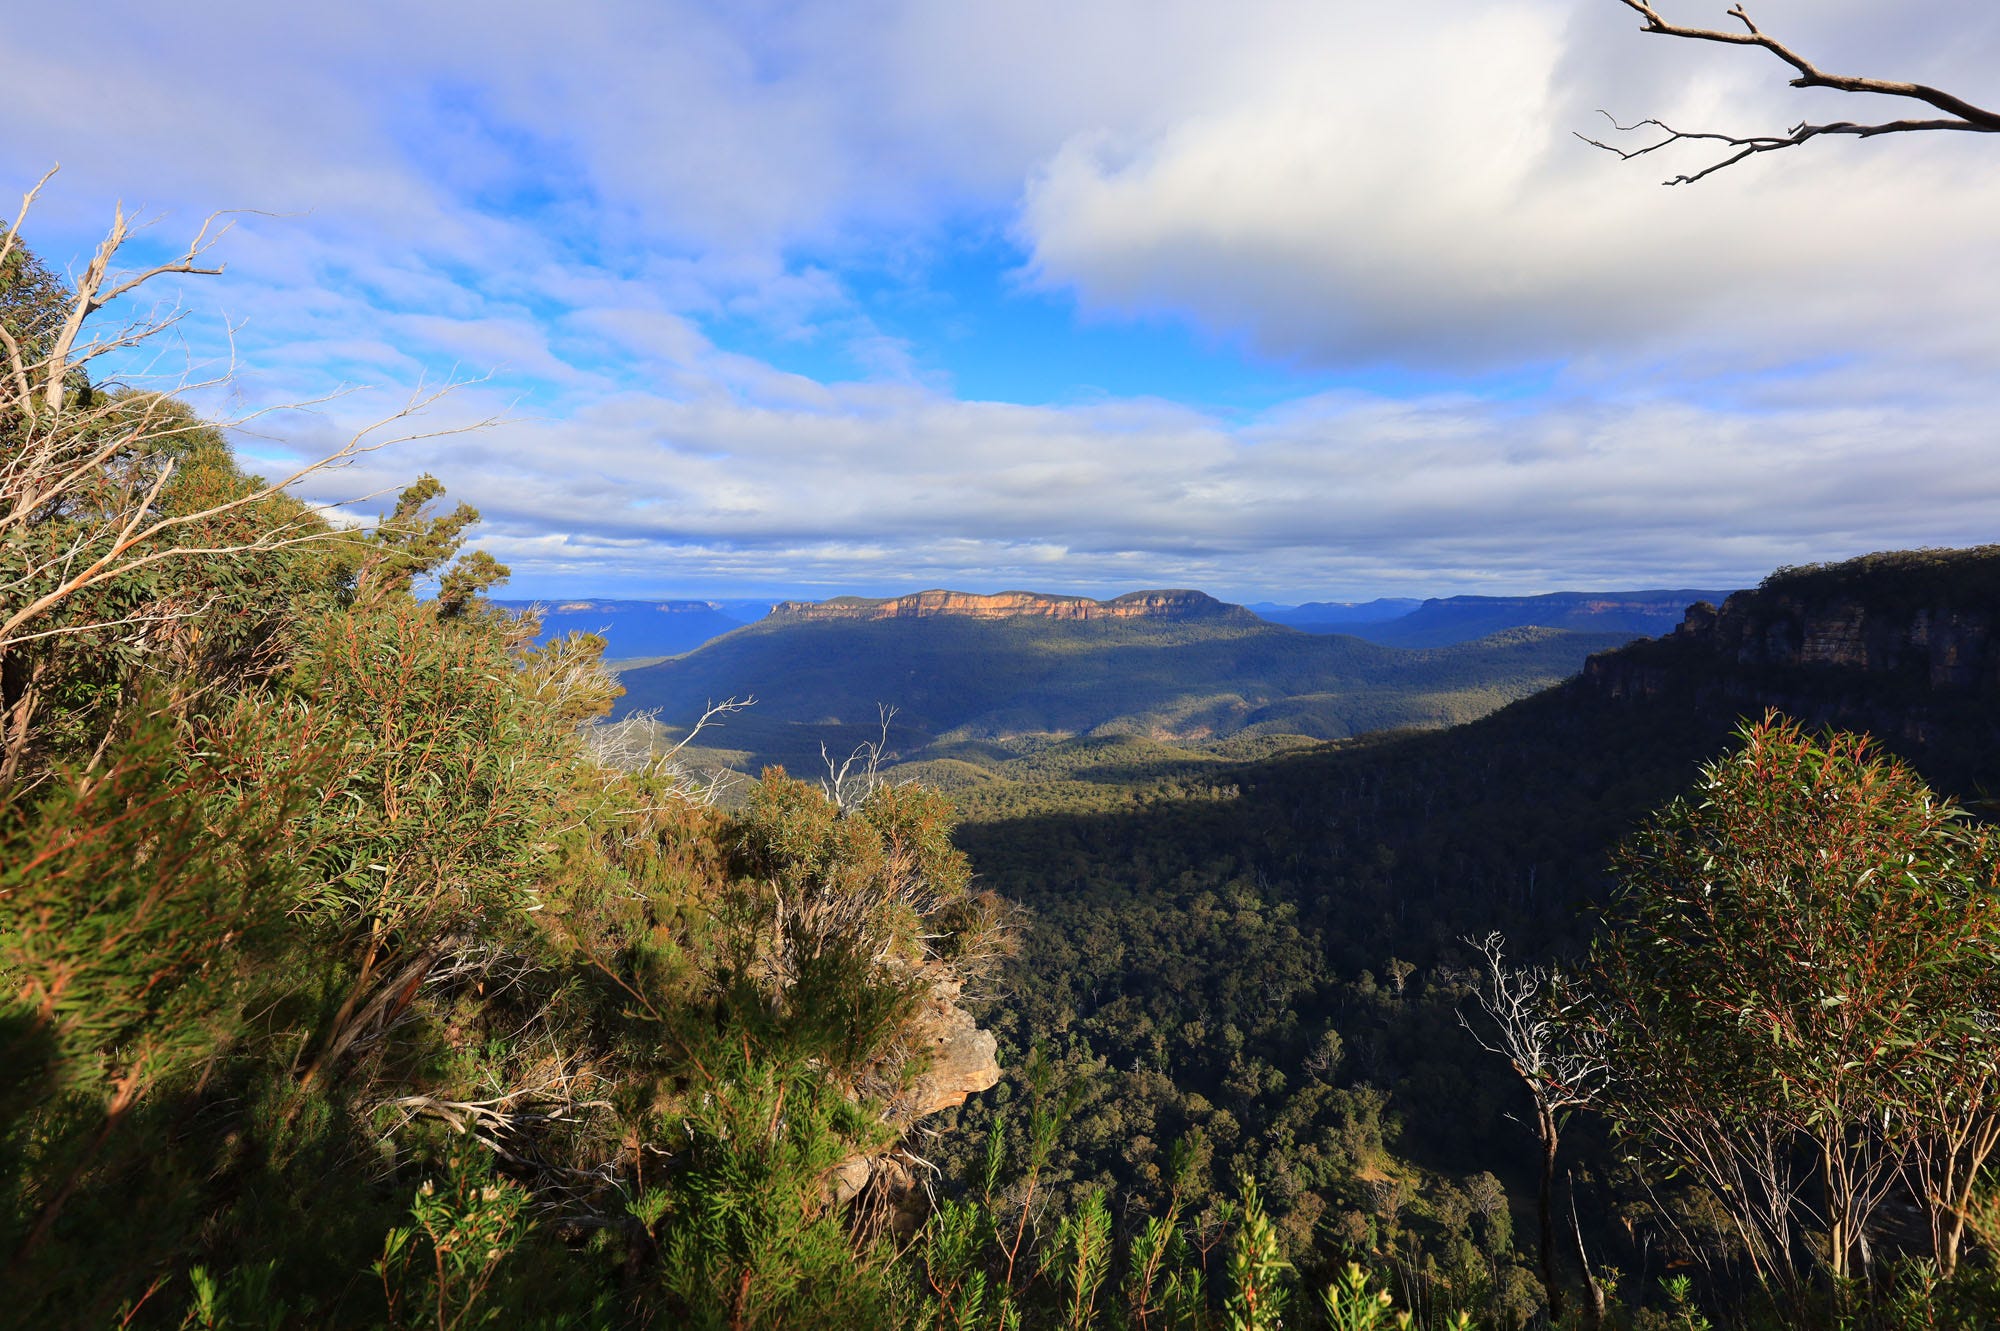
Landscape shot of the iconic Blue Mountains in New South Wales.
EOS RP | EF16-35mm f/4L IS USM | f/10 | 1/100s | ISO 160 | 16mm
6. Any tips to achieve beautiful landscape shots on the EOS RP? The EOS RP is a very competent full-frame camera suitable for spectacular travel photography. Tip: Try stopping along the tracks for long exposure shots on your RP, which may yield unexpected results! Instead of using a wide-angle zoom lens to capture everything in a single shot, give long zooms a try for beautiful landscape shots with clearer focus. Pack a telephoto zoom lens the next time you go on a trip, and you’ll see what I mean. 7. Final question! Pick your top 3 lenses and tell us why they’re your favourites.- EF 16-35mm f/4L IS USM
- EF 70-300mm f/4 - 5.6L IS USM
- EF 24mm f/1.4L II USM
Click here for more related reads on the formidable EOS RP! Ready to start your next travel adventure with the EOS RP? Visit the official Canon e-shop or your nearest Canon authorised retailer today!