


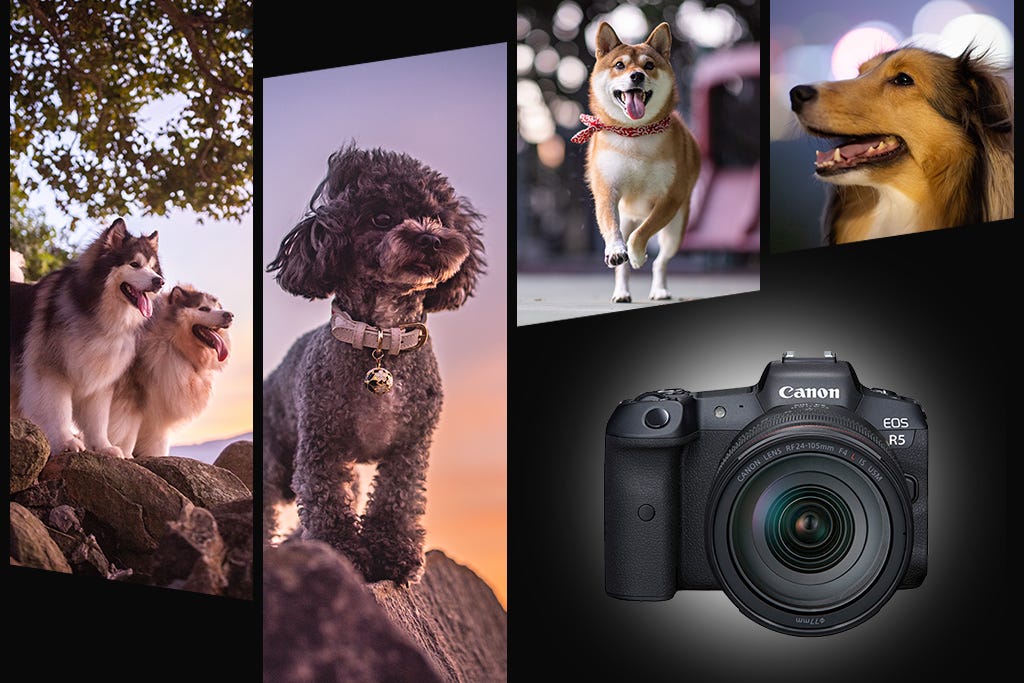
3 Types of Dog Portraits to Capture with Animal Detection AF
Just like humans, dogs have different facets of their personality, and the more active they are, the harder it can get to capture that perfect defining moment. Animal Detection AF, which debuted on the EOS R5 and EOS R6, makes it so much easier, finding and locking focus not just on the dog’s body and face but even its eyes, and even in low light. In this article, photographer Neo Ng shares three scenes where you can make the best of Animal Detection AF and the other features in an advanced Canon camera like the EOS R5 and EOS R6. (Reported by: Neo Ng)

1. Before you start: Preparing for the shoot
Recommended gear
- An advanced camera with a fast continuous shooting speed and Animal Detection AF, like the EOS R5 or EOS R6.
- Fast lenses so that you can use a fast shutter speed even in dim lighting, and also for better separation from the background.
AF settings
- Face Detection+ Subject Tracking Priority AF mode: The EOS R5/EOS R6 should be able to pick up the dog quite easily.
- Servo AF
- Subject to Detect: Animals
- Enable Eye detection AF
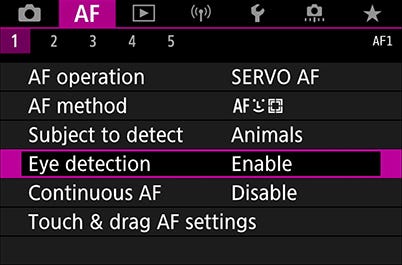

Just like in portraits of humans, the eyes are important for animal photos. Eye detection is disabled by default—remember to enable it!
Key exposure settings
- Shutter-priority AE (Tv) mode with ISO Auto should work well in most situations
- Use a fast shutter speed as dogs are quite active. 1/1600 to 1/2500 second is good to start off with; even when the dog is stationary, I recommend using at least 1/400 second. I sometimes go slightly slower to preserve a sense of movement.
With all these prepared, here are three scenes that you will find a breeze, especially with Animal Detection AF.
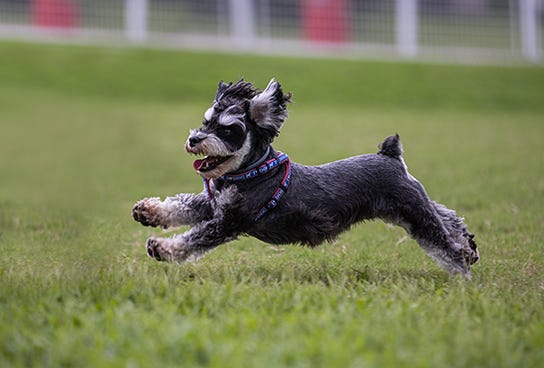
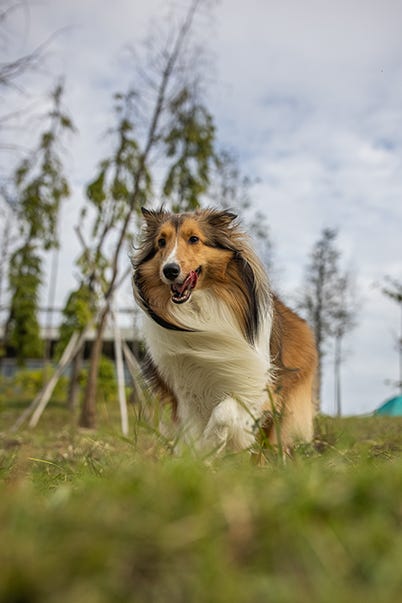
2. Running
One of the easiest ways to get an action portrait of your dog is to capture it as it is running. Throw a ball in the direction that you want it to run, or get someone it is familiar with to call out to it from some distance away.
Depending on the direction that the dog is running, the AF settings that you use might be slightly different.
Lens tip: Use a long lens to put enough space between you and the dog. A telephoto zoom lens like the RF70-200mm f/2.8L IS USM lets you adjust the framing easily. However, a medium telephoto prime lens like the RF85mm f/1.2L USM or the EF85mm f/1.4L IS USM (attached to the EOS R system via a mount adapter) is easier to manoeuvre, especially when you have to move around a lot.
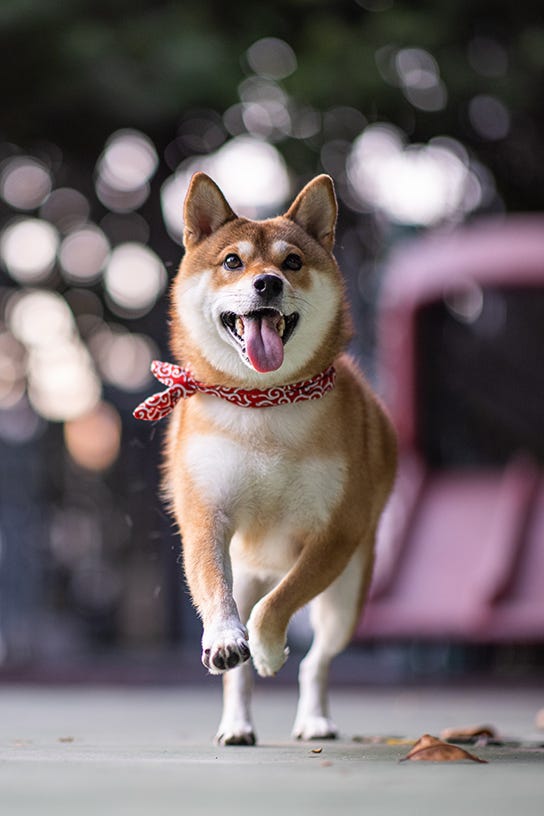
i) Dog running across the scene
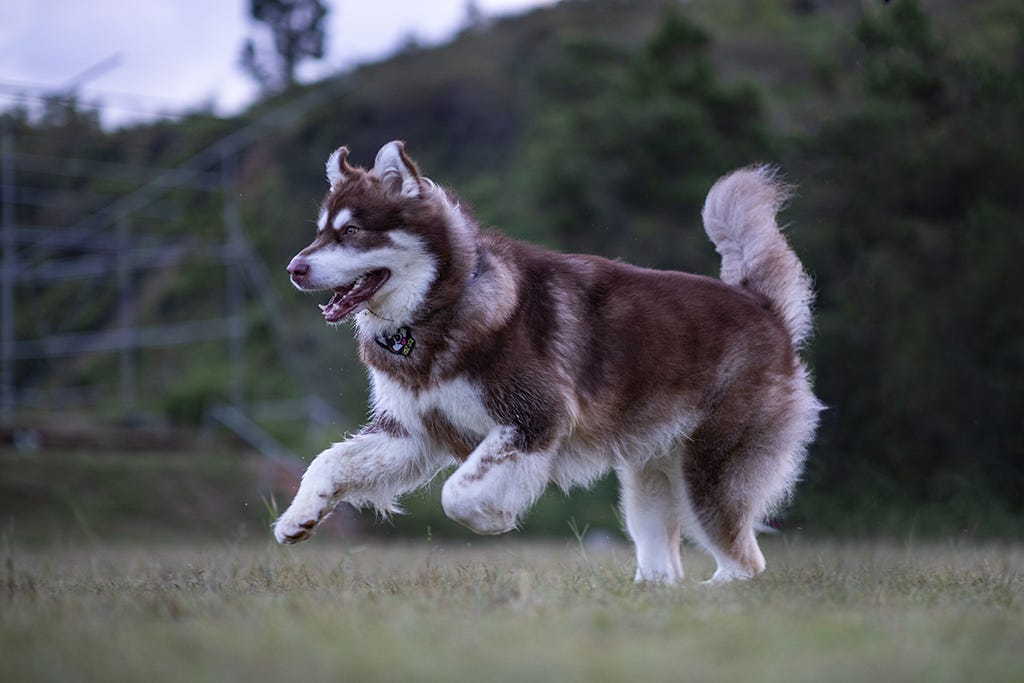
EOS R5/ EF85mm f/1.4L IS USM/ Shutter-priority AE (f/1.4, 1/800 sec)/ ISO 500
For shots like the above, where the dog is running across the scene, I recommend picking up focus with the Initial Servo AF Point while using Servo AF Case 3 for best results.
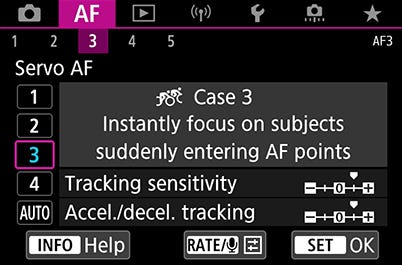
Using AF Case 3 helps the Initial Servo AF Point to pick up the subject quickly.
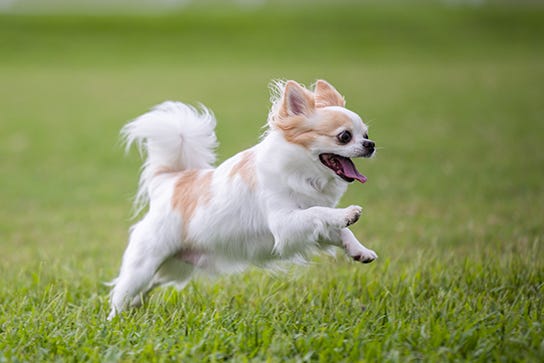
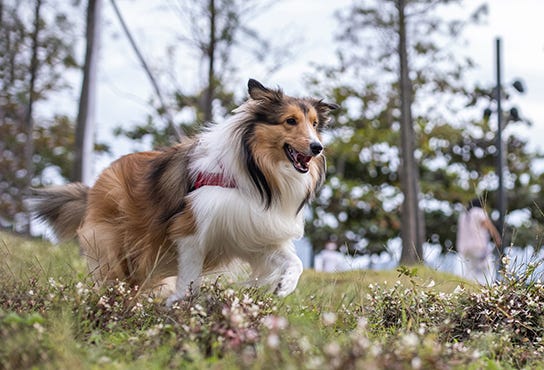
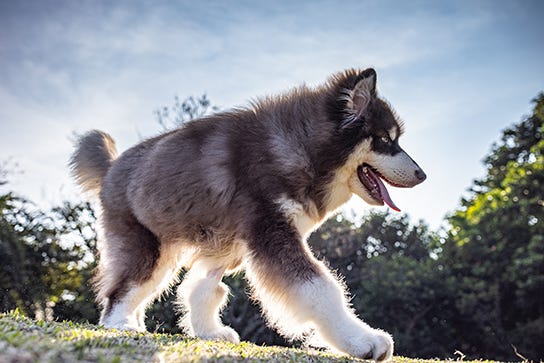
ii) The “run to me” shot

EOS R5/ EF85mm f/1.4L IS USM/ Shutter-priority AE (f/1.6, 1/1000 sec, EV +0.7)/ ISO 800
For such shots, I usually have the owner of the dog stand behind me to call to the dog (or tempt it with some snacks!) To reduce the possibility of the focus being distracted by objects behind or in front of the dog, use Servo AF Case 2. The camera will detect the dog’s head first, and then its eyes as it approaches the camera.
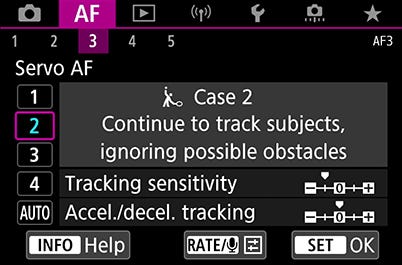
 AF Case 2 also works when the dog is running across the scene against a busy background.
Tip: Use high-speed continuous shooting mode to capture the picture perfect moment
Depending on the position of the paws, the dog can look like it is leaping…

Hovering…
Or galloping.

Using high-speed continuous shooting allows you to capture the dog in a variety of positions as it runs, providing more options for choosing the best shot.
Did you know: You can select the eye that’s in focus!

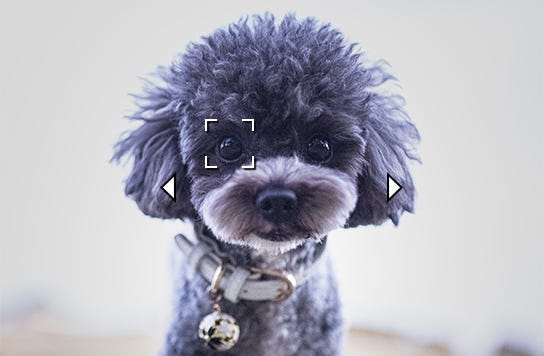
The arrows mean that more than one eye is detected. Push the multi-controller to the left or the right to change the eye that you want to focus on.
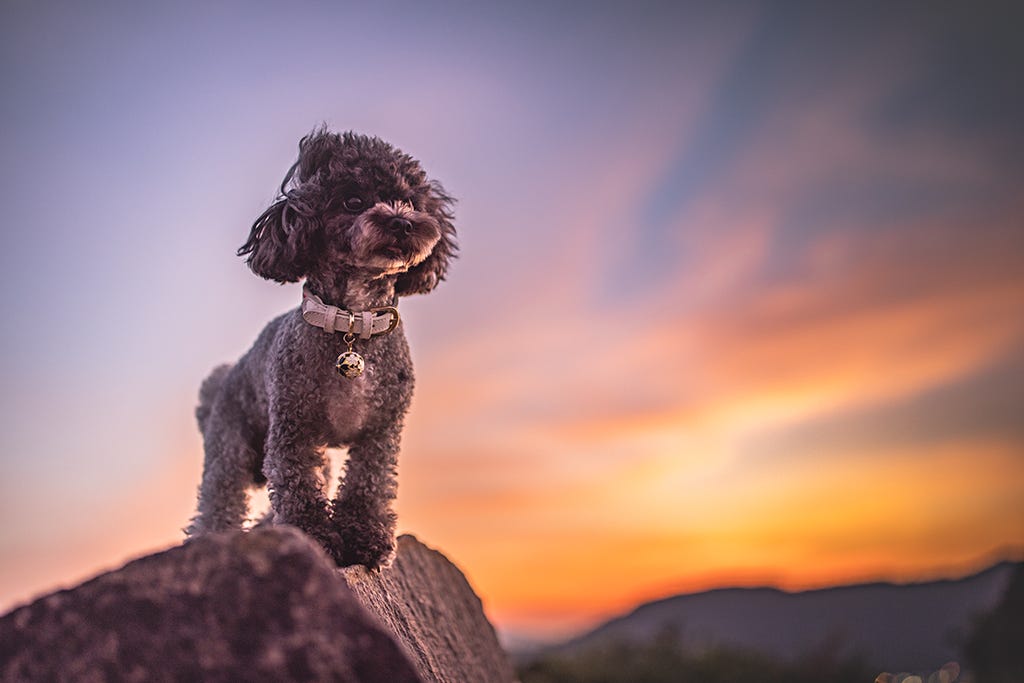
3. In backlight against the setting sun
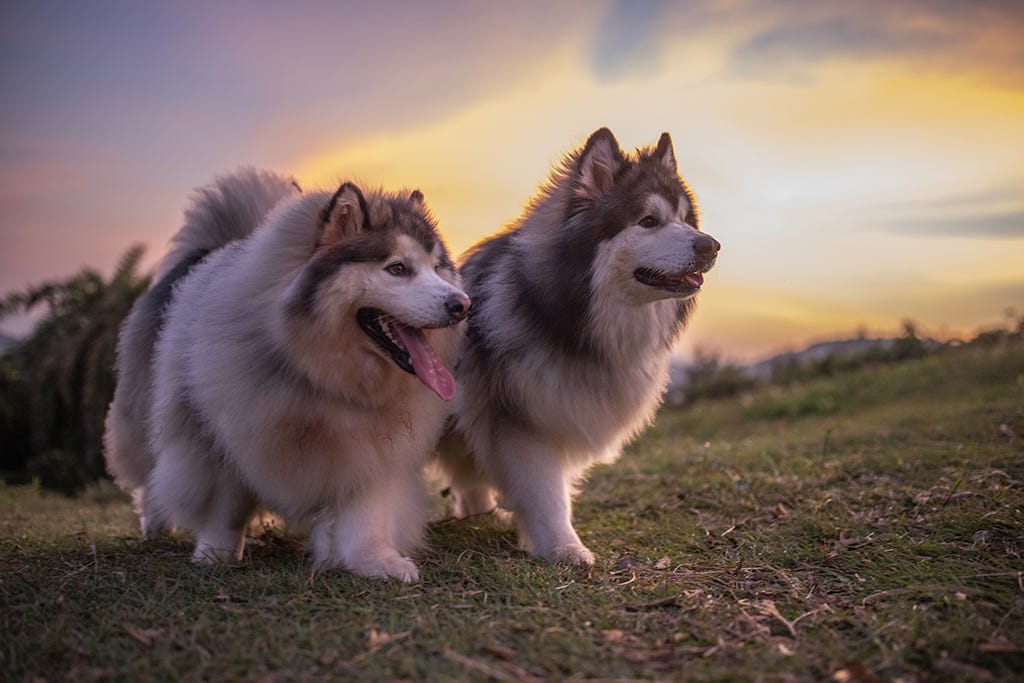 EOS R5/ EF35mm f/1.4L II USM/ Shutter-priority AE (f/1.4, 1/400 sec)/ ISO 3200
Make use of the excellent dynamic range: Expose for the dog and recover the sunset in post-processing
You might have learnt that when shooting into sunsets, you should expose for the sky and then recover the foreground details in post-processing. However, aggressive recovery of shadow details could cause fur details to end up looking mushy.
Canon’s recent advanced cameras, including the EOS R5 and EOS R6, have excellent dynamic range especially in the highlights, which makes recovering blown highlight details a very viable choice. Make use of this to expose for the dog’s fur using spot metering. During RAW post-processing, you can simply reduce the highlights and exposure to recover the sunset, something possible even in Canon’s free Digital Photo Professional app.
Before editing

Lens tip: Strong light sources in the frame can cause ghosting and flaring. To prevent this, use a lens hood. It also helps if your lens has special anti-reflective coatings such as Air Sphere Coating (ASC) and Subwavelength Structure Coating (SWC).
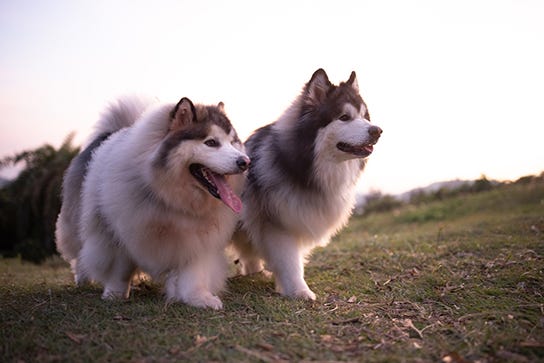
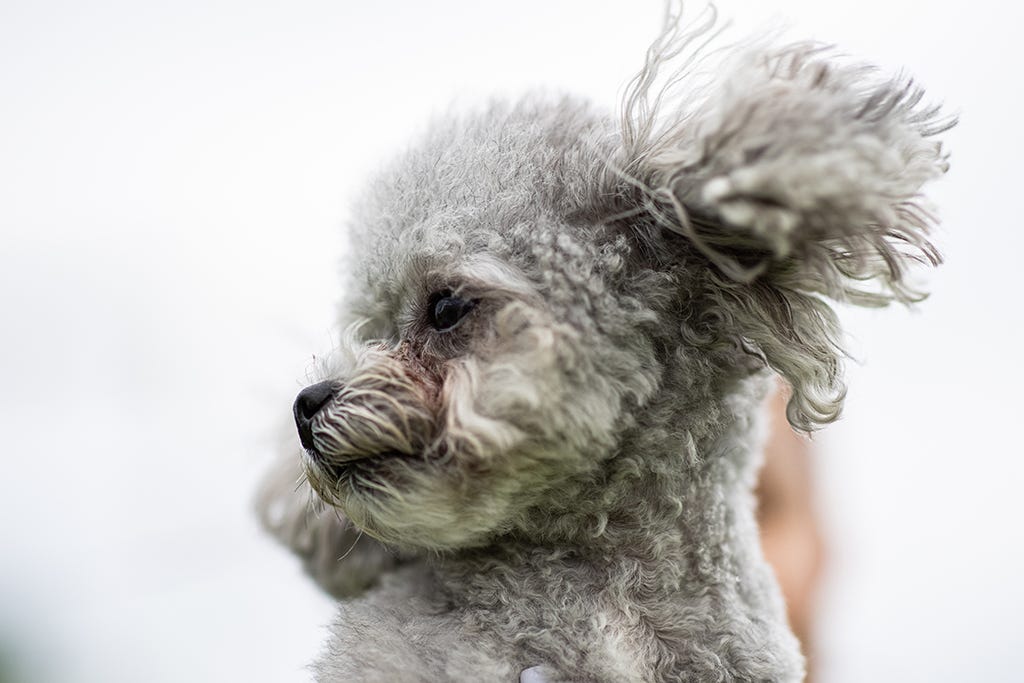
Also works for photographing white dogs and black dogs
Animal Detection AF can find subjects easily even in low contrast situations, such as white dogs against a white background or the eyes on a black dog. But in tricky lighting, it’s still up to you to ensure that the shot is correctly exposed. Spot metering helps in these situations too. Always expose for the fur and recover other details in post-processing.
 EOS R5/ EF35mm f/1.4L II USM/ Shutter-priority AE (f/1.4, 1/20 sec, EV +3)/ ISO 1000
 EOS R5/ EF85mm f/1.4L USM/ Shutter-priority AE (f/2, 1/1600 sec, EV +1.3)/ ISO 200
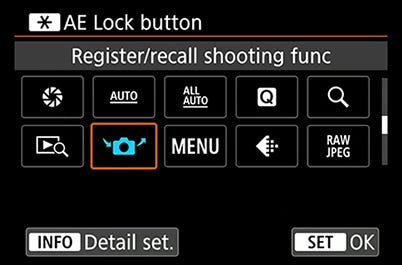
Useful setting: Register/Recall Shooting Functions shortcut
The “Register/recall shooting function” setting shortcut, which the EOS R5 and EOS R6 inherited from the EOS-1D X Mark III, lets you recall stored settings with one button push. There are a few buttons that you can assign for this—I assigned the AE Lock button, which I seldom use as I set the shutter button half-press to lock exposure.
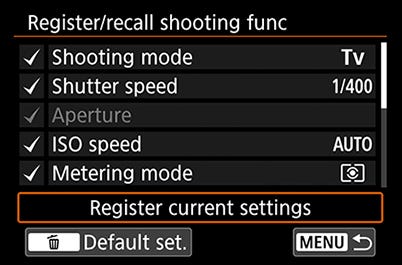
 I use this to store custom settings for when the animal is standing still: basically, a lower shutter speed. It is faster than switching to a C1 to C3 mode!
4. Bokeh light circles in the background
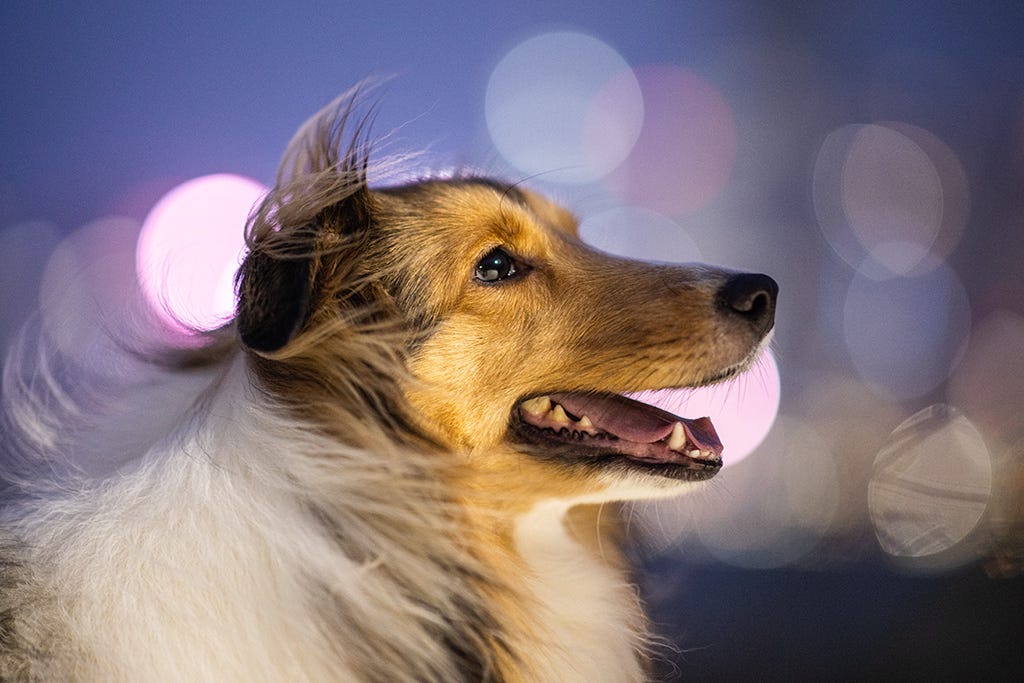 EOS R5/ EF85mm f/1.4L IS USM/ Shutter-priority AE (f/1.4, 1/80 sec)/ ISO 1600
Bokeh light circles showcase excellent optical performance
The wonderful low light AF performance of the EOS R5 and EOS R6 makes photographing at night a pleasant experience. The focus stays on the dog’s head or, if it is close enough, the eyes, even when the dog moves and despite the shallow depth of field.
To make the best of this, pair the camera with an RF lens or a newer EF L-series prime lenses like the EF85mm f/1.4L IS USM. These are very sharp and provide excellent bokeh quality. Then, shoot somewhere with point light sources in the background. The beautiful bokeh circles that result provide the perfect backdrop for a unique, dramatic headshot.
Lens tip: Don’t worry if your lens has no built-in image stabilisation. If you are using the EOS R5 or EOS R6, the In-Body Image Stabilizer (In-Body IS) will reduce camera shake along five axes of camera movement.
Bonus tip: Use the Vari-angle Monitor to take low angle shots
For more impactful shots, position your camera so that it is at the dog’s eye level or lower. This lets you…
1. Literally see eye-to-eye with the dog for better connection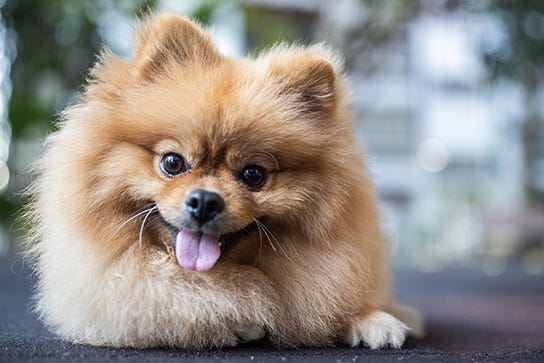
2. Create foreground bokeh to give the image even greater dimensionality
3. Make the dog look bigger and more majestic
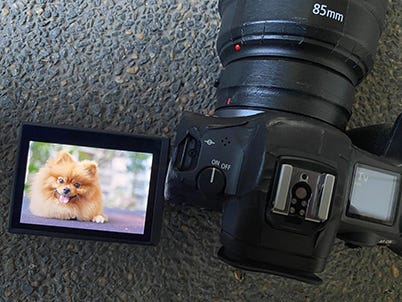
The fully articulating Vari-angle monitor can be flipped out and adjusted so that you can see the shot without lying on the ground.
This article was originally published in Canon SNAPSHOT