


From Buildings to Paintings: Journey with Architecture Photography
In the book Building with Light: The International History of Architecture Photography, Robert Elwall, renowned photographic curator and historian, describes the relationship between architecture and photography.
“While many view architectural photography almost as a stand-in for the buildings themselves, the fact is that the photographs themselves are powerful interpretations that often shape the way that audiences see at architecture.”
An Architectonic Journey with Jeffrey Wong
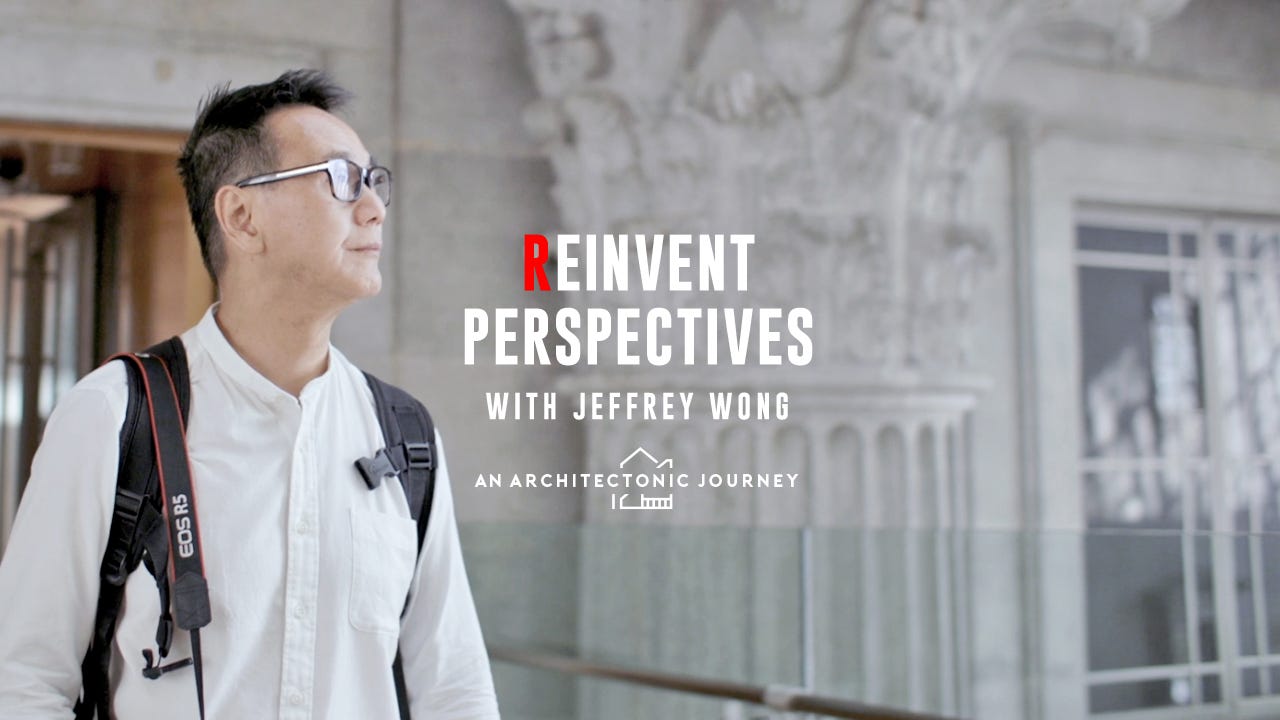 Architectural Photographer Jeffrey Wong in Reinvent Perspectives
When Architectural Photographer Jeffrey Wong takes a photograph, it is not a literal representation of the building, but a piece of art that reveals the essence of a structure.
For a self-taught professional photographer, photography is a canvas for Jeffrey to paint his artistic vision. His acclaimed black and white fine art architectural photography led him to be recognised by the Photographic Society of Singapore as an associate in 2015. More recently in 2019, he was inducted with a PSS Fellowship.
Read on to discover Jeffrey's knowledge, experience, choice of gears, equipment set-up, and the standard techniques of architecture photography that he showcases in the fourth video from the EOS R – Reinvent Perspectives series.
![Architectural Photographer Jeffrey Wong shooting through the Canon EOS R5’s viewfinder]](https://shop.sg.canon/media/wysiwyg/canon-insider/Jeff_Profile.png) To be a photographer is to be an artist.
To be a photographer is to be an artist.
Location Scouting & Vantage Points
Start the journey to a great photoshoot with location scouting.
Jeffrey searches for unique vantage points in each of his chosen sites. Particularly, he looks for angles that strengthen the lines of the buildings.
His advice for the uninitiated: observe lines and look out for patterns that can tell a story. For iconic structures, think about how best to weave in the building’s historical context.
Composition: Parallel Lines, Different Perspectives, and Guidelines
There’s a golden rule in architecture photography – keep the building’s horizontal and vertical lines parallel. Lines that start to converge create an effect known as vertical distortion, which happens when the camera’s sensor is not parallel to the plane of the subject.
![Parallel lines of the building Pinnacle@Duxton without any distortion]](https://shop.sg.canon/media/wysiwyg/canon-insider/OP4_Pinnacle_-_50TS_ND_filter.jpg) Lines maximise a building’s form. -Photo by Jeffrey Wong.
Lines maximise a building’s form. -Photo by Jeffrey Wong.
Perspective is important when establishing the atmosphere, the feel, of an image.
Shooting from different perspectives creates unconventional and refreshing images – giving your photography an edge over the rest.
Jeffrey’s standard routine is to study the building. He notes how sunlight travels across the course of a day, where the shadows fall over time, and where the focal points are – he picks up on key elements to emphasise and uses these to his advantage.
And when it comes to composition, the ideal shot is up to personal preference. Jeffrey has two guidelines that form the basis of his photography:
- Less is more. Keep the picture clean and uncluttered. A simple image tells the most powerful story.
- Give the viewers a feel of the real world by bringing in the environment. Made of mortar and metal, in often towering heights, buildings are impressive and intimidating at the same time. Including elements like people or plants can humanise a picture.
 Adding people into the image breathes life into an otherwise static photo. -Photo by Jeffrey Wong.
Weather: Light, Shadow, Texture
Realism in a photograph can also apply to weather – rain, fog, all four seasons – are all interesting tools that change the vibe and influence the presentation of the subject, especially for exterior architecture photography.
According to Jeffrey, the weather creates the mood, while lights shape the building, and texture completes the picture.
What’s in Jeffrey’s Bag? The Canon EOS R5 and His Preferred Lenses
For Jeffrey, the Canon EOS R5 is the perfect choice for architecture photography. When shooting outdoors, its compact size allows him to trick angles effortlessly and discreetly.
Jeffrey has a diverse range of Canon lenses in his gear set-up. The RF15-35mm f/2.8L IS USM wide angle lens, the EF24-70mm f/2.8L II USM zoom lens, and his most often used, the Canon TS-E17mm f/4L tilt-shift lens.
The Ecosystem of Convenience
As a user of both RF and EF mount lenses, Jeffrey also uses the handy Drop-In Filter Mount Adapter EF-EOS R with Variable ND Filter to ensure that his lenses and the EOS R5 camera body work flawlessly together.
He also brings along a Variable Neutral Density (VND) filter and Circular Polarizer (CPL) filters. They are used for two purposes, respectively: controlling the amount of light entering the camera and reducing the glare from reflected surfaces.
The Drop-in Filter Mount Adapter is convenient in these two ways:
- As the name suggests, it allows him to simply "drop-in" the VND or CPL filter.
- And use it with any of the Canon lenses (from the EF and EF-S line-up) that he decides to attach to the mount adapter
Perfect Parallel Lines with Canon TS-E17mm f/4L
A tilt-shift lens removes perspective distortion by shifting the optics and enabling the camera to capture parallel lines.
Jeffrey finds that the TS-E17mm f/4L lens has the widest angle-of-view and is excellent for shooting in tight spaces.
Capture Every Detail with 45MP Full-frame Sensor
Jeffrey likes that the EOS R5’s 45-megapixel full-frame sensor spots more than twice the number of pixels and has a much higher dynamic range. He feels that it gives great balance on tonality between highlights and shadows.
It helps him utilise any shot to its fullest potential without losing image quality, especially when cropping or doing heavy editing.
Balance the Highs and the Lows of Uneven Lighting with Exposure Bracketing
It’s common to come across this scenario when shooting: to have one part of the subject brightly lit and the other hidden in dark shadows.
Jeffrey relies on the EOS R5’s Auto Exposure Bracketing (AEB) shooting mode to conveniently capture up to 3 shots of different exposure values with one press. Which he then blends in post to get the correctly exposed final image.
 Convenient and effective. -Photo by Jeffrey Wong.
Brace the Blues with ISO
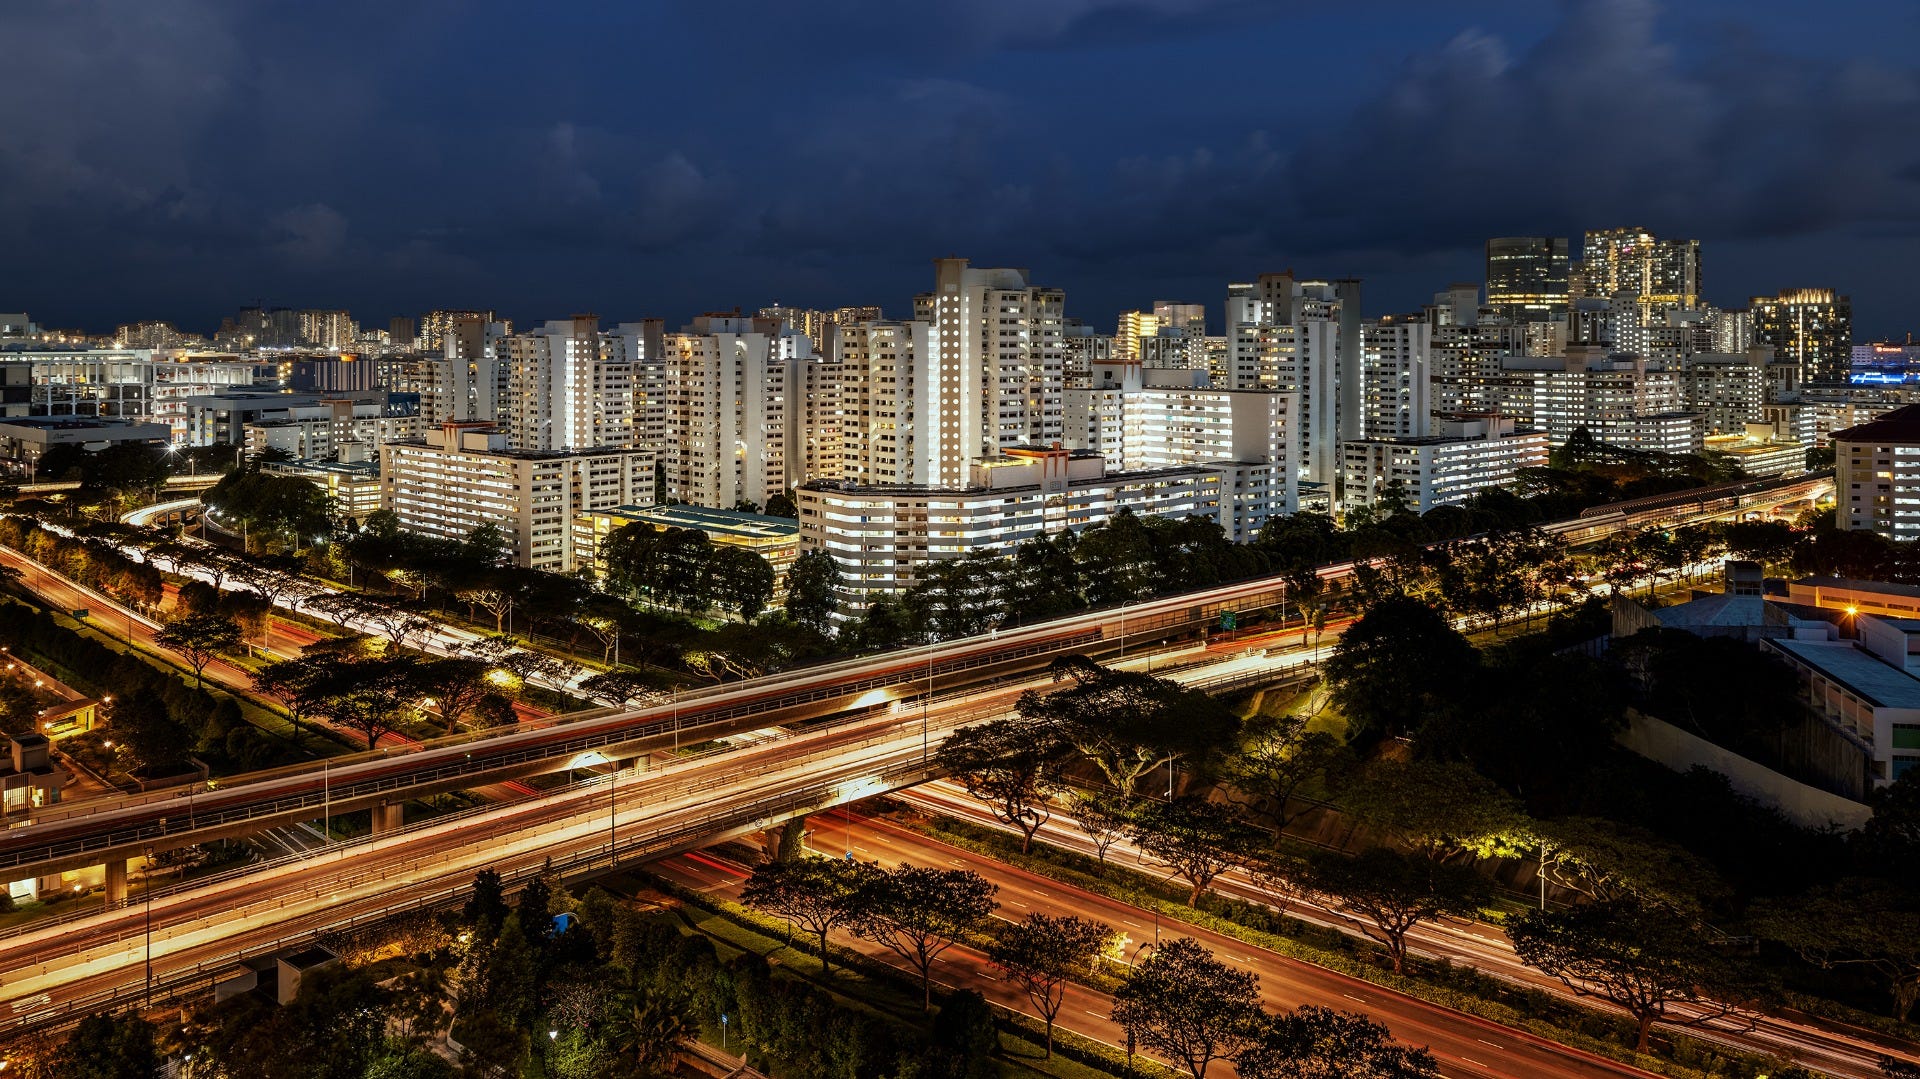
Occasionally, Jeffrey shoots in Blue Hour, a window of time just before the sun sets where the sky is painted a deep blue hue. Being close to sundown, it can get quite dark. Having an ISO of up to 51200, the EOS R5 high ISO helps compensate for any noise, keeping it minimal.
 A painterly photo with light lines and cloud streaks. -Photo by Jeffrey Wong.
Turning Architecture into Art
A long-standing genre with years of history, there are many techniques within architectural photography that continue to delight viewers. Jeffrey Wong demonstrates two techniques – Long Exposure and his award-winning Black & White Fine Art Photography. Take a look and be inspired.
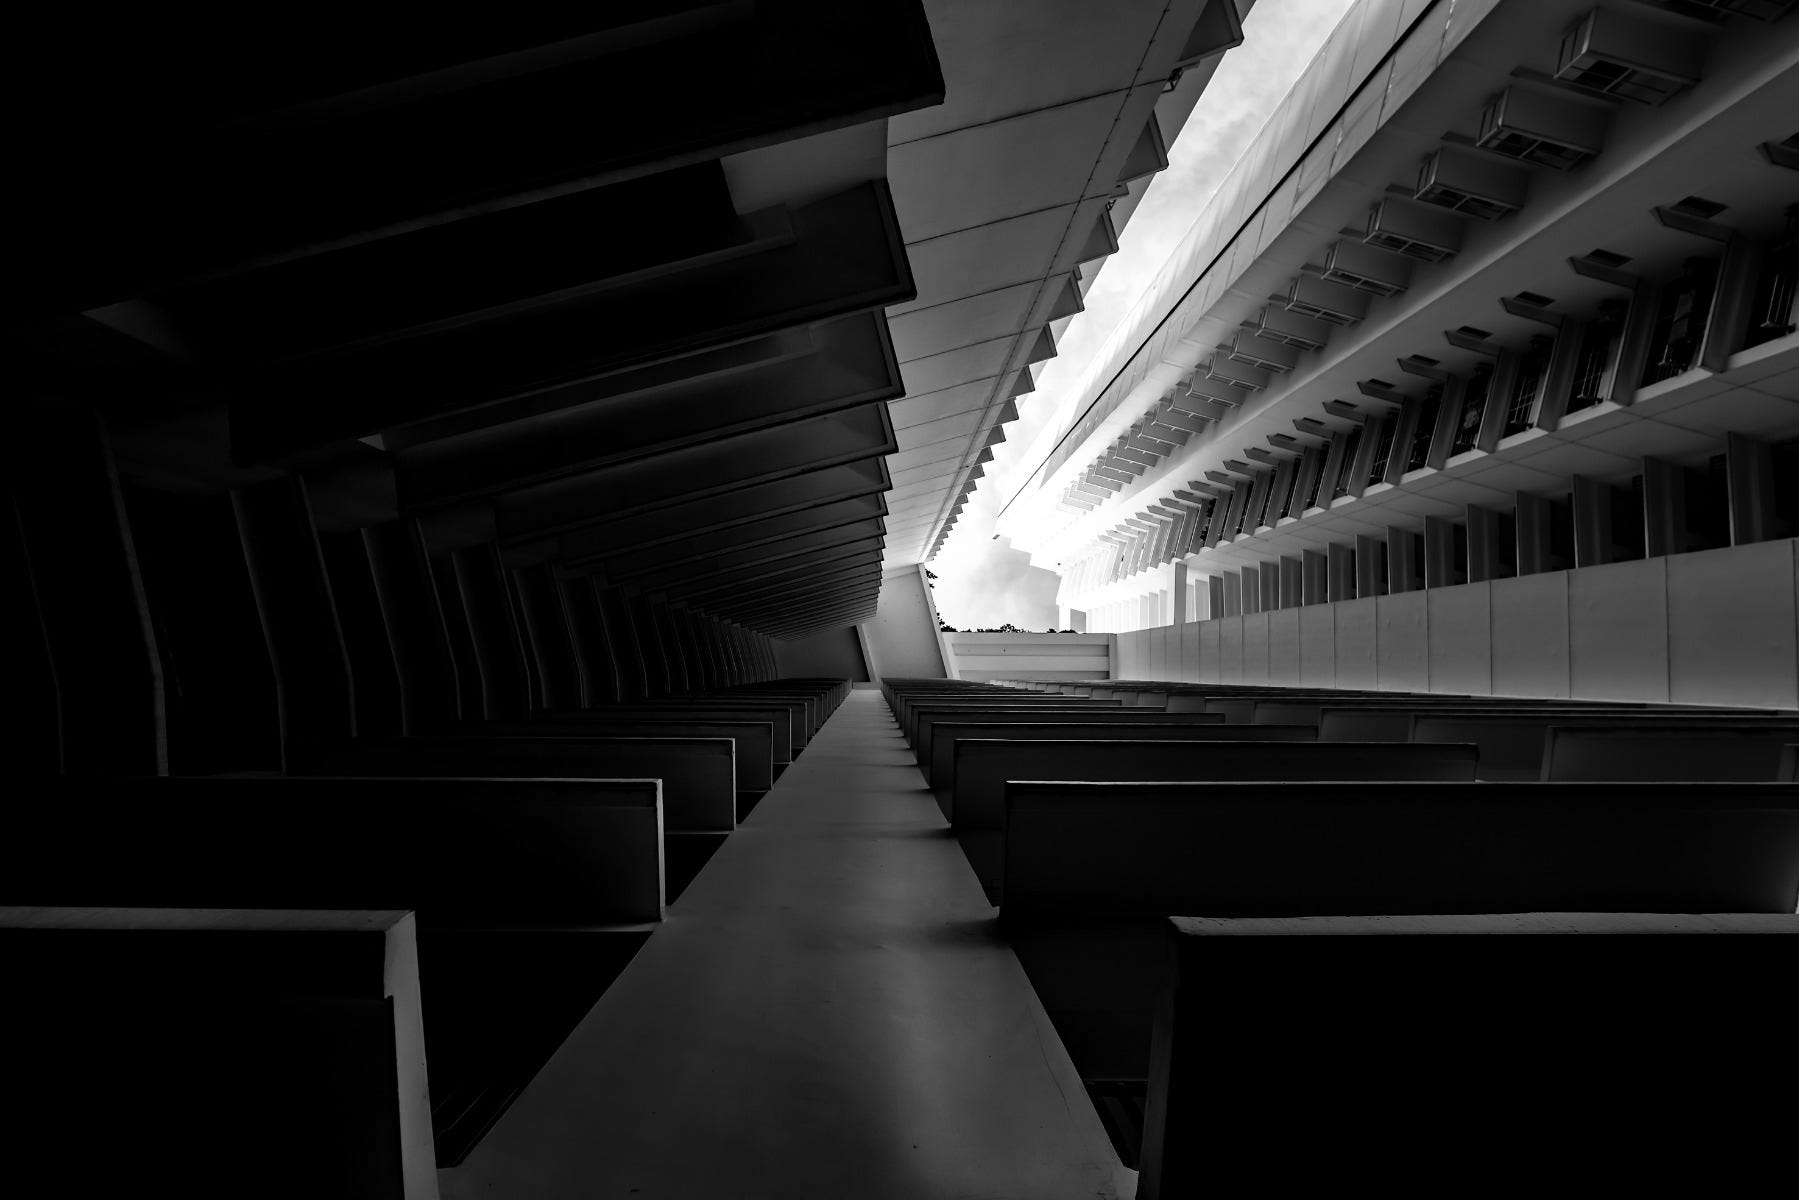
Long Exposure
 Each image is crafted with tiny details. -Photo by Jeffrey Wong.
Black & White Fine Art Photography
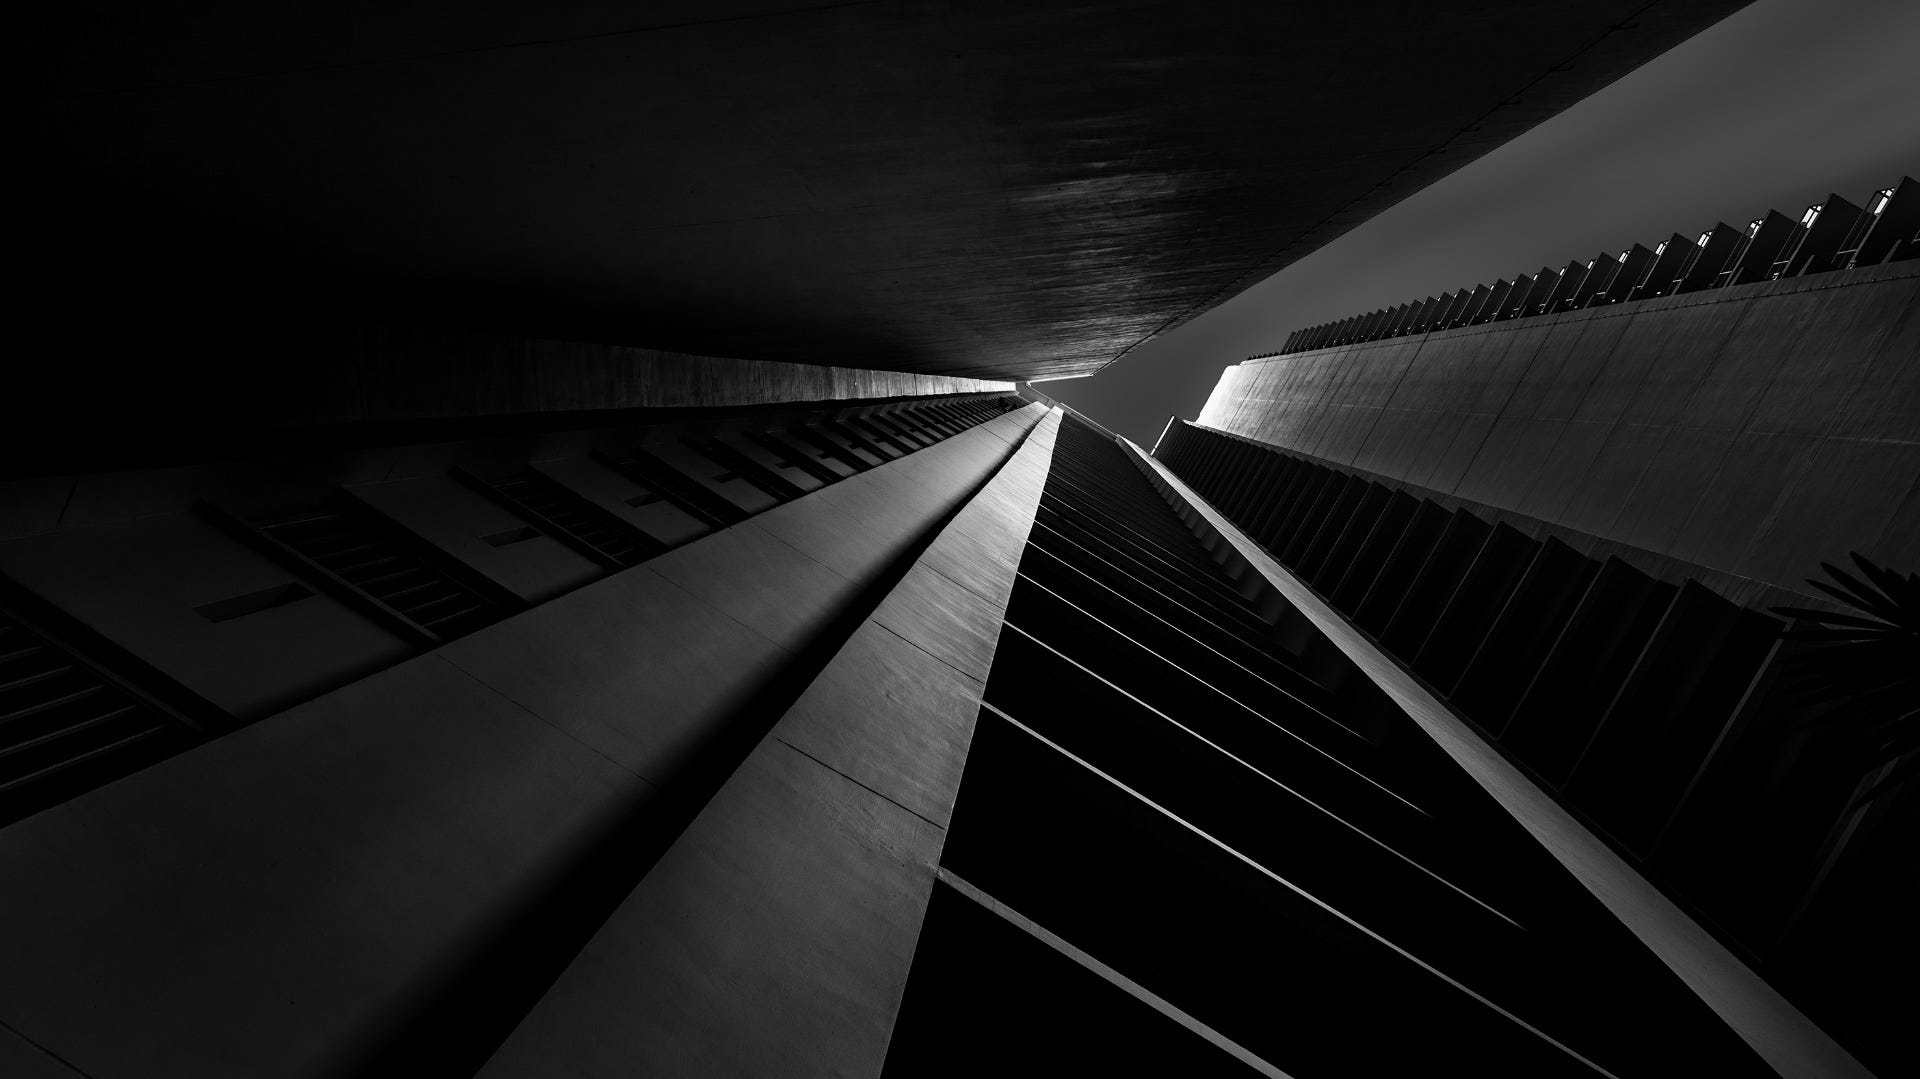 Negative space can be constructed with cropping. -Photo by Jeffrey Wong.
 My photos are a reflection of my imagination. -Photo by Jeffrey Wong.
 I transform buildings into art forms. -Photo by Jeffrey Wong.
Follow Jeffrey on his architectural journey: